2 - Install And Setup Plugin
In this section, we will see how to install the WordPress plugin and connect the plugin to the app.
You can also follow along with this video.
Install Plugin#
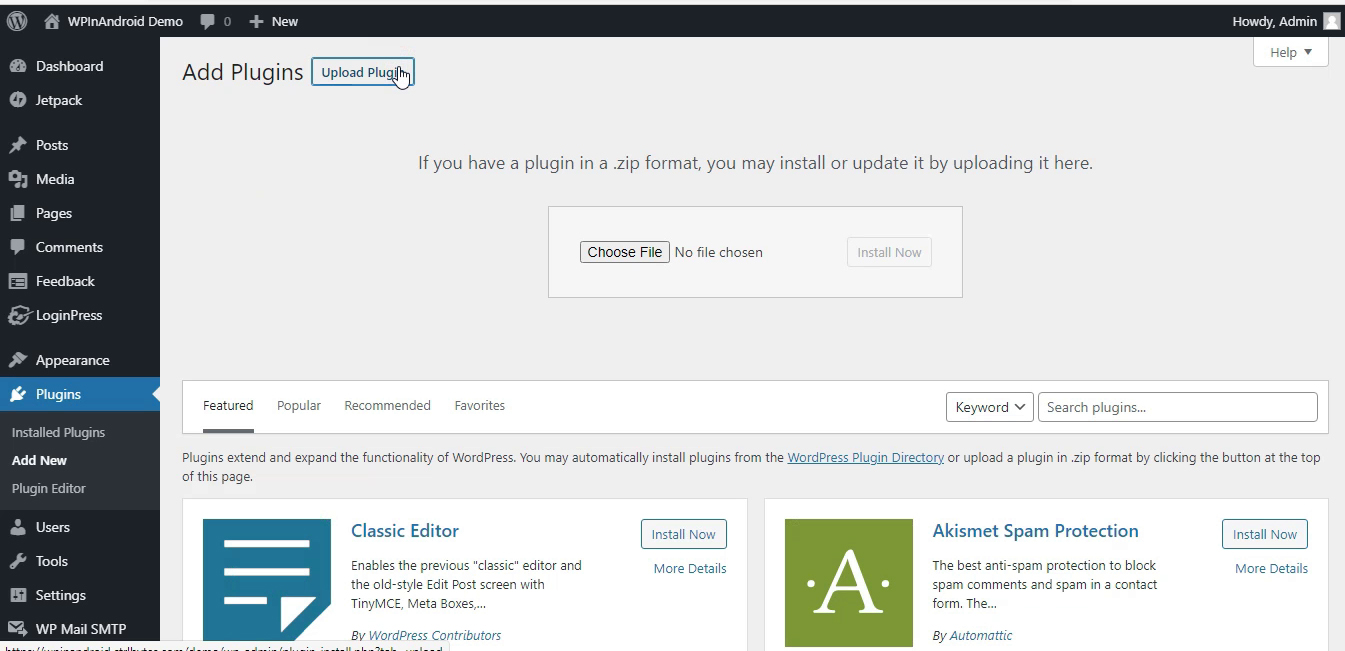
Login to your WordPress admin panel and navigate to Plugins -> Add New, then click Upload Plugin.
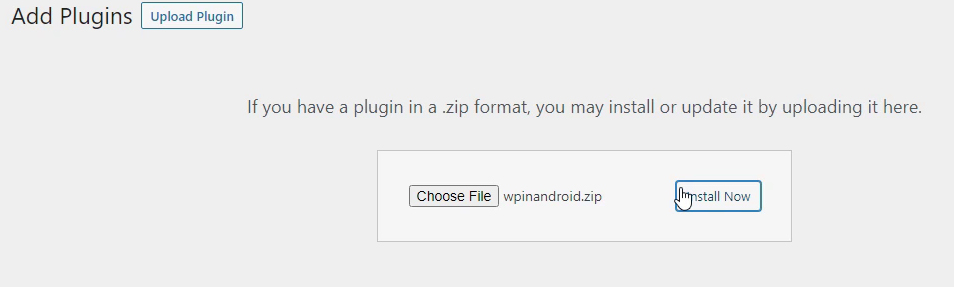
Then click choose file and select the file wpinandroid.zip in the Plugin folder and click install now.
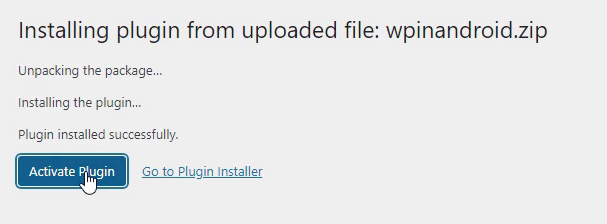
Then on the screen click Activate button to activate the plugin.
Connect Plugin With App#
Setup Website URL In App#
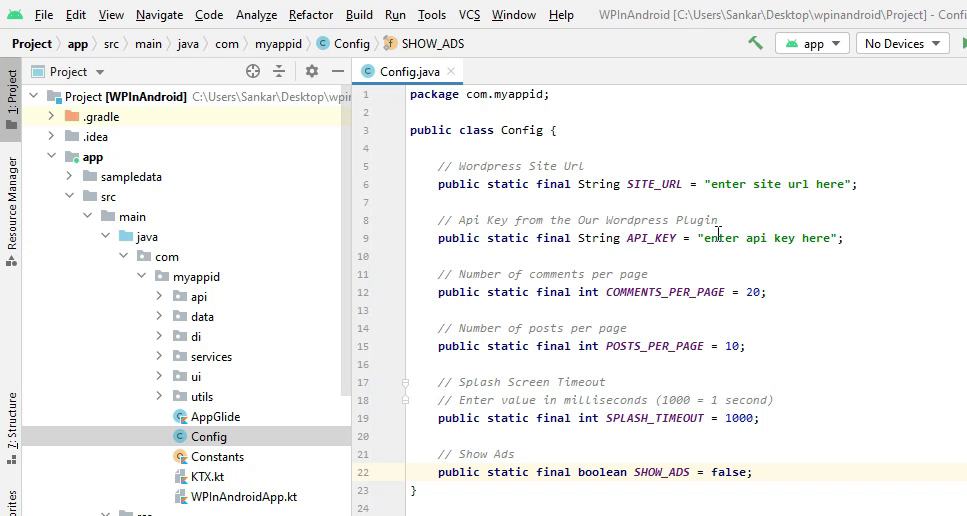
Open the Project in Android Studio.
Open file app/src/main/java/com/<YOUR APP ID>/Config.java, and enter your website url in the SITE_URL field.
Before
public static final String SITE_URL = "enter site url here";After
public static final String SITE_URL = "https://mywebsite.com/";note
The website URL must end with a trailing slash (/) like above.
Setup API Key In App#
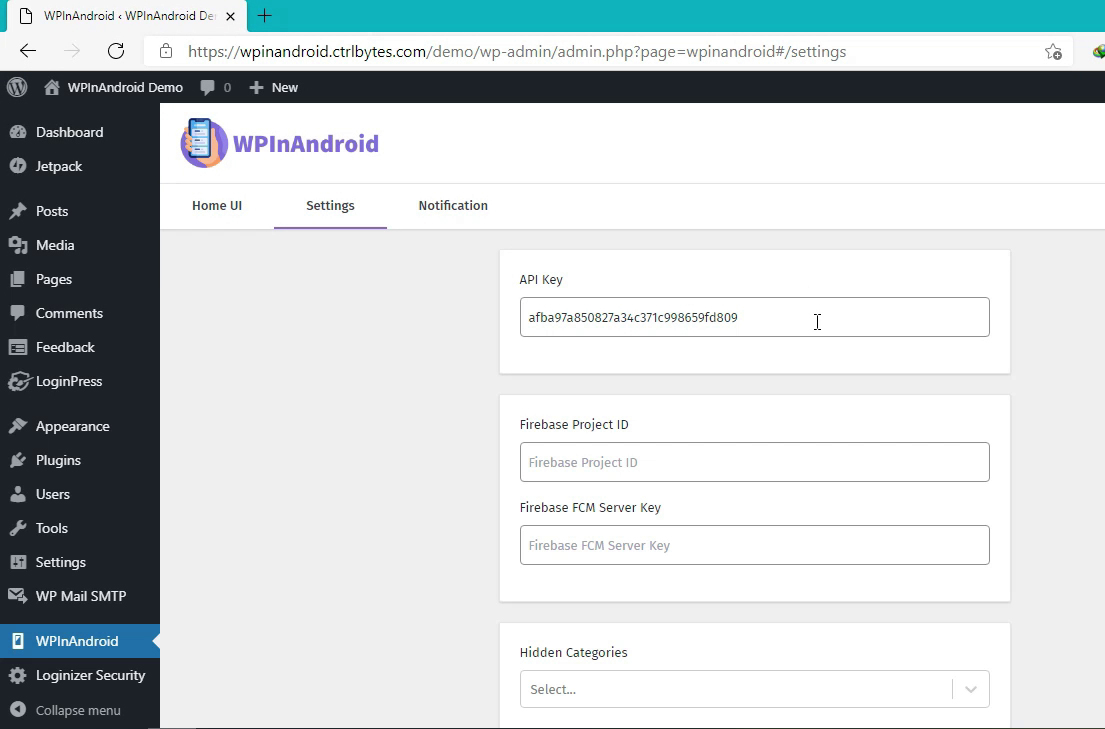
In your WordPress admin panel navigate to WPInAndroid in the sidebar menu, and on the WPInAndroid page, go to Settings tab, and copy the API key.
Open the Project in Android Studio.
Open file app/src/main/java/com/<YOUR APP ID>/Config.java, and enter API key in the API_KEY field.
Before
public static final String API_KEY = "enter api key here";After
public static final String API_KEY = "97f4hubcneq08h9ebubiuh08f9";